

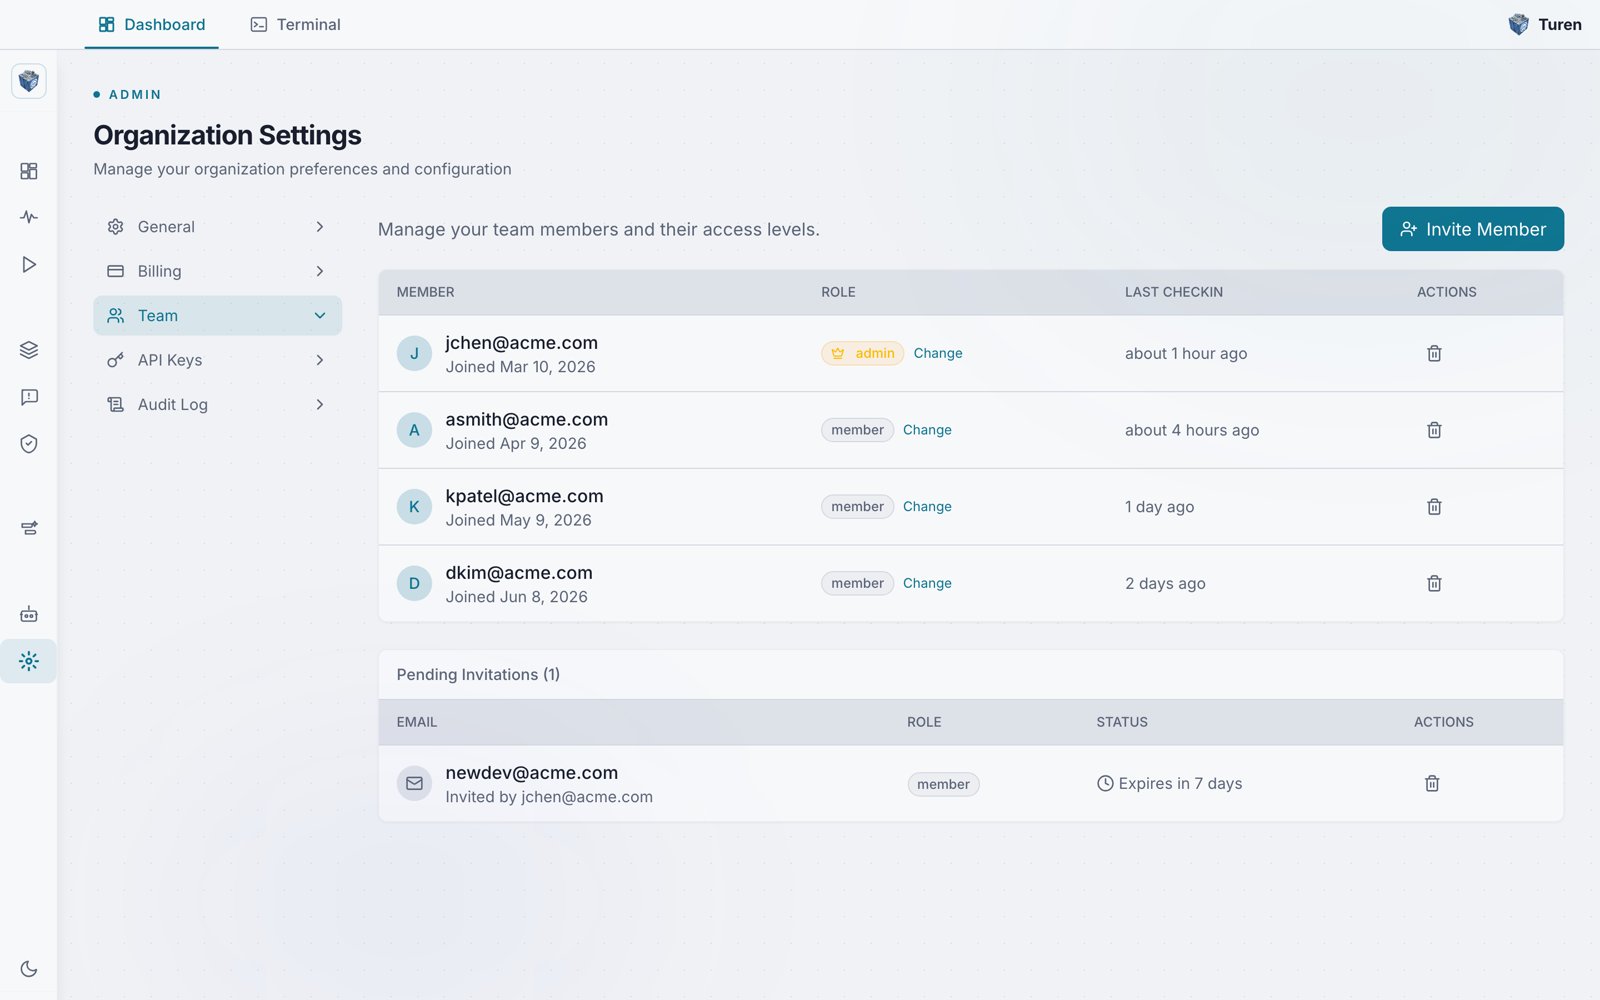
The Team tab under Organization Settings, showing members with their roles and last check-in times, plus pending invitations.
Inviting Team Members
Navigate to Platform Settings > Org Settings > Team (/settings/team).
1
Click Invite Member
Click the Invite Member button in the top-right corner.
2
Enter details
Enter the team member’s email address and select a role (Member or Admin).
3
Share the invite link
An invitation link is generated. Copy it and share it with the team member. They click the link, create an account (or sign in), and join your organization.
Roles
The organization creator is automatically an Admin. Additional admins can be promoted from the team page.
Managing Members
From Org Settings > Team (/settings/team), you can:
- View all members: See who’s in your organization, their role, join date, and last check-in time
- Change roles: Click “Change” next to a member’s role to promote to Admin or demote to Member
- Remove members: Click the trash icon and confirm to revoke a member’s access
Pending Invitations
Admins can view all pending invitations below the members table. Each invitation shows:- Email: The invitee’s email address
- Invited by: Who sent the invitation
- Role: The assigned role
- Expiration: Time remaining before the invitation expires
Email Verification
All team members must verify their email address before they can access the dashboard.Multi-Factor Authentication (MFA)
Each user can add an authenticator app (TOTP) as a second factor for sign-in. MFA is enrolled and managed per user, not per organization.1
Open Account Settings
Go to Account Settings (
/user/settings) and find the Two-Factor Authentication section.2
Set up your authenticator
Click Set Up Authenticator, then scan the QR code with an authenticator app (for example Google Authenticator or 1Password), and enter the 6-digit code to confirm.
3
Sign in with MFA
Once enrolled, both the dashboard and the desktop app prompt for your 6-digit code during sign-in. This applies to email/password and Google sign-in.
MFA factors are enrolled and removed in Account Settings in the dashboard. The desktop app prompts for the code at sign-in but does not manage factors.